Blogging can be one of the best and easiest ways to increase traffic to your site. Not only does blogging allow you to add more content to your website (and more in-depth content that may have a better chance of ranking on search engines), it also shows Google that you are willing to put in the time and effort to improve your site.
Google loves this and chooses to reward sites that regularly add or update content. This reward comes in the speed at which Google indexes your pages. And the faster that Google indexes your site, the sooner you will be able to start competing in search engine results.
In addition to the above benefit, blogs also provide you with the perfect opportunity to cross-link between pages on your site, the value of which cannot be understated in terms of SEO and rankability. That, paired with the additional space to expand on targeted keywords, makes blog posting an invaluable tool.
Posting on WordPress
WordPress is a form of free software that allows you to create and post to your website. This is written in PHP and paired with a MySQL or MariaDB database.
Because WordPress is so commonly used, it is essential to understand how to post a blog to your site.
WordPress Posting Steps
Step 1: Log in to WordPress
Go to yoursite.com.au/wp-admin and log in with your username and password.
You’ll then be taken to the WordPress dashboard. If you were already logged in, you’ll go straight to the WordPress dashboard without having to log in again.
Step 2: Create a new post
There are several ways to add a new post – the easiest way is to hover over the Posts tab and click Add New.
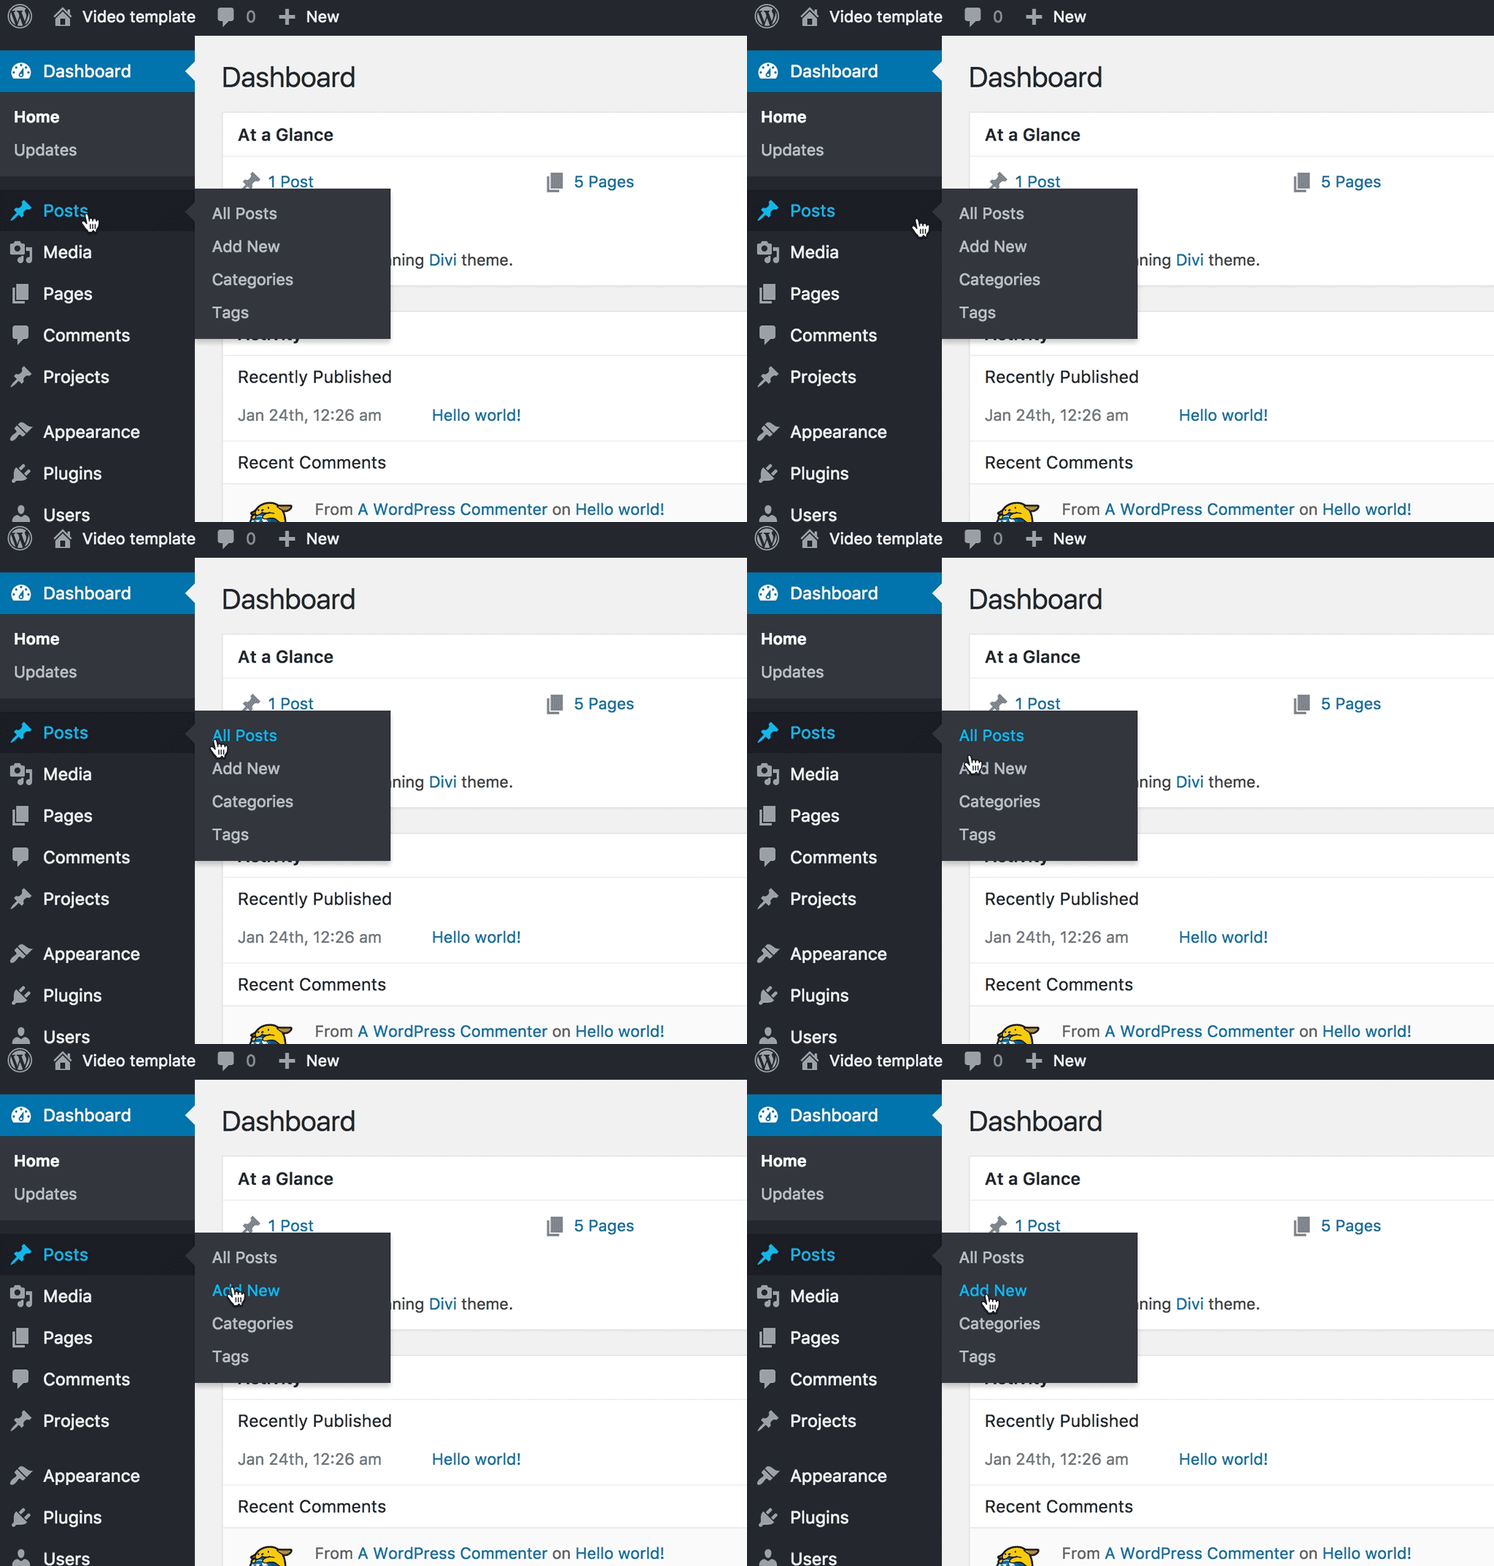
Alternatively, can hover over the New tab in the top bar and click on Post. You can also click on the Posts tab and then click Add New at the top of the posts screen.
Step 3: Enter the title of your new post
Put the title of your post in the first box at the top that says Enter title here.

Step 4: Enter body content
The big box below the title box is where you put all the text, images and other content that makes up your new blog post.
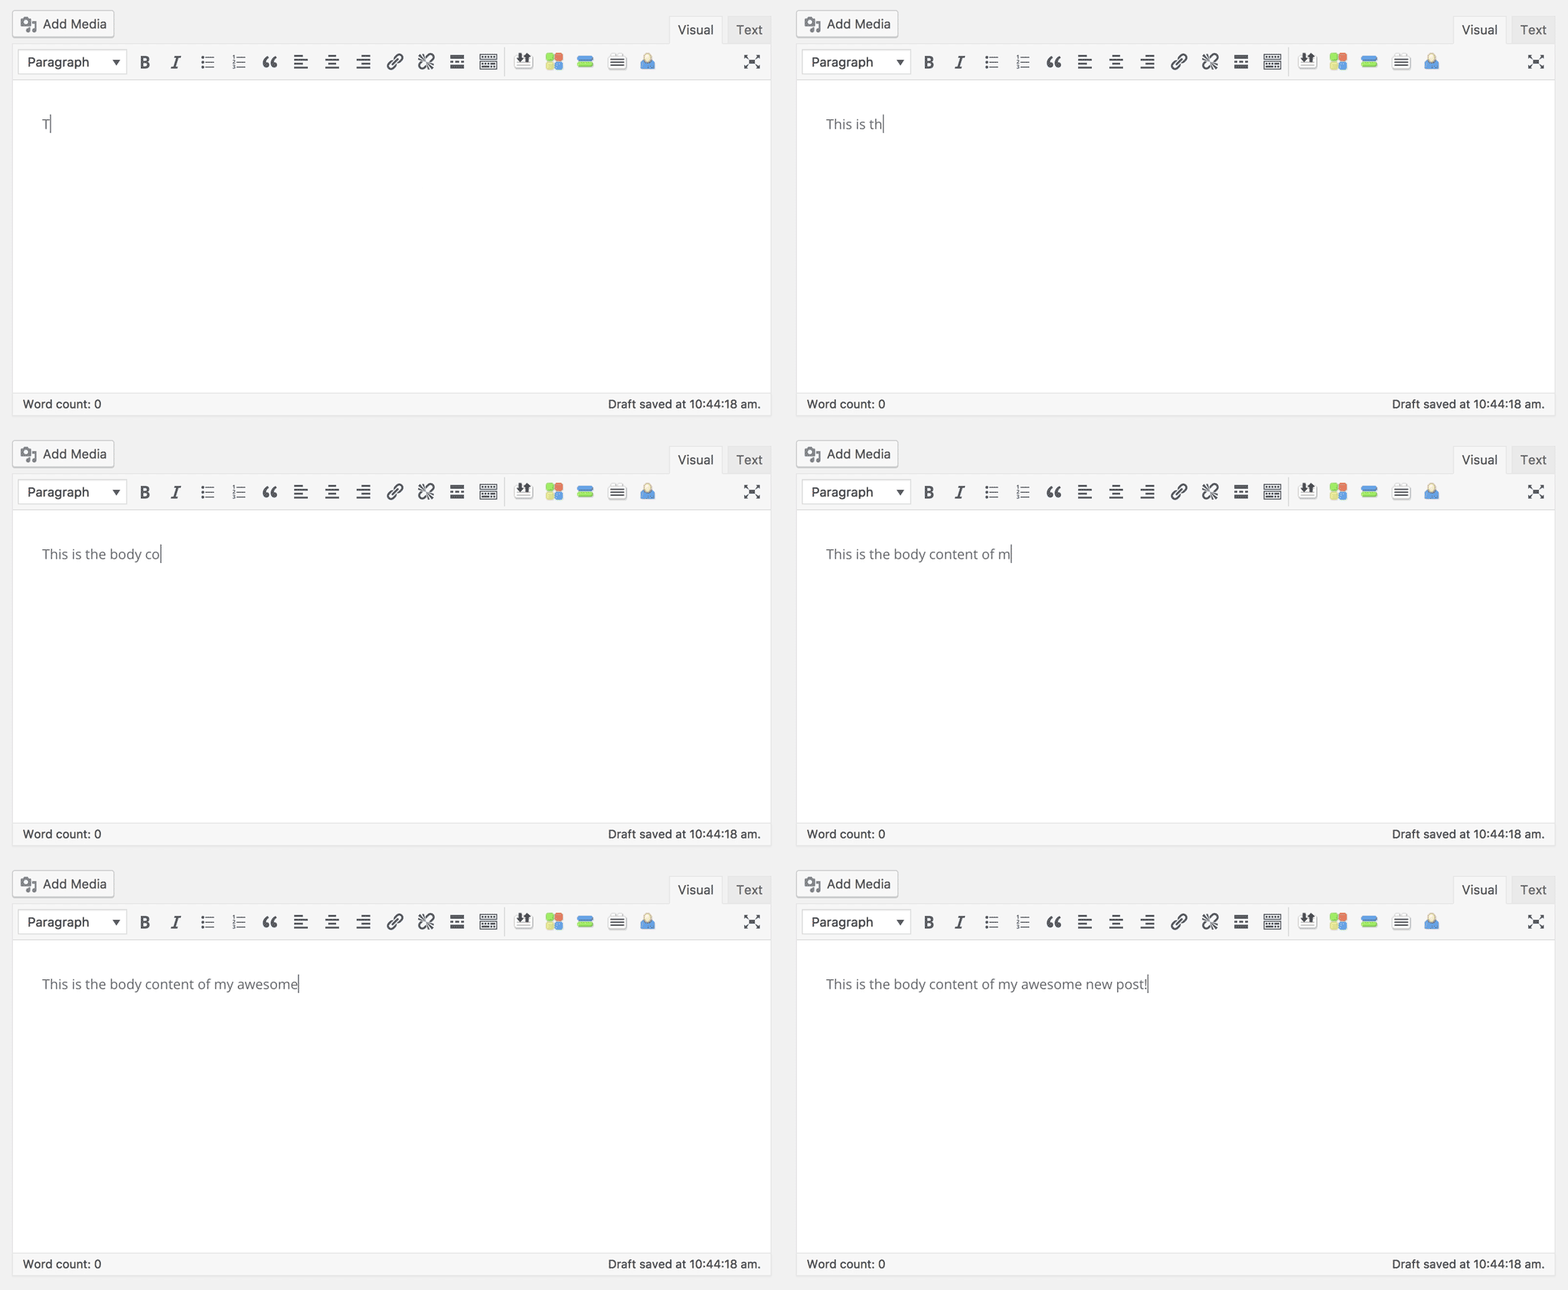
The WordPress editor provides you with formatting tools like Bold, Italic, Paragraph Alignment, Styles, Lists and a bunch of others.
Step 5. Choose a feature image
The feature image will usually be shown at the very top of the post. It will also be your post’s thumbnail, meaning wherever this post appears, the thumbnail image will appear along with it.
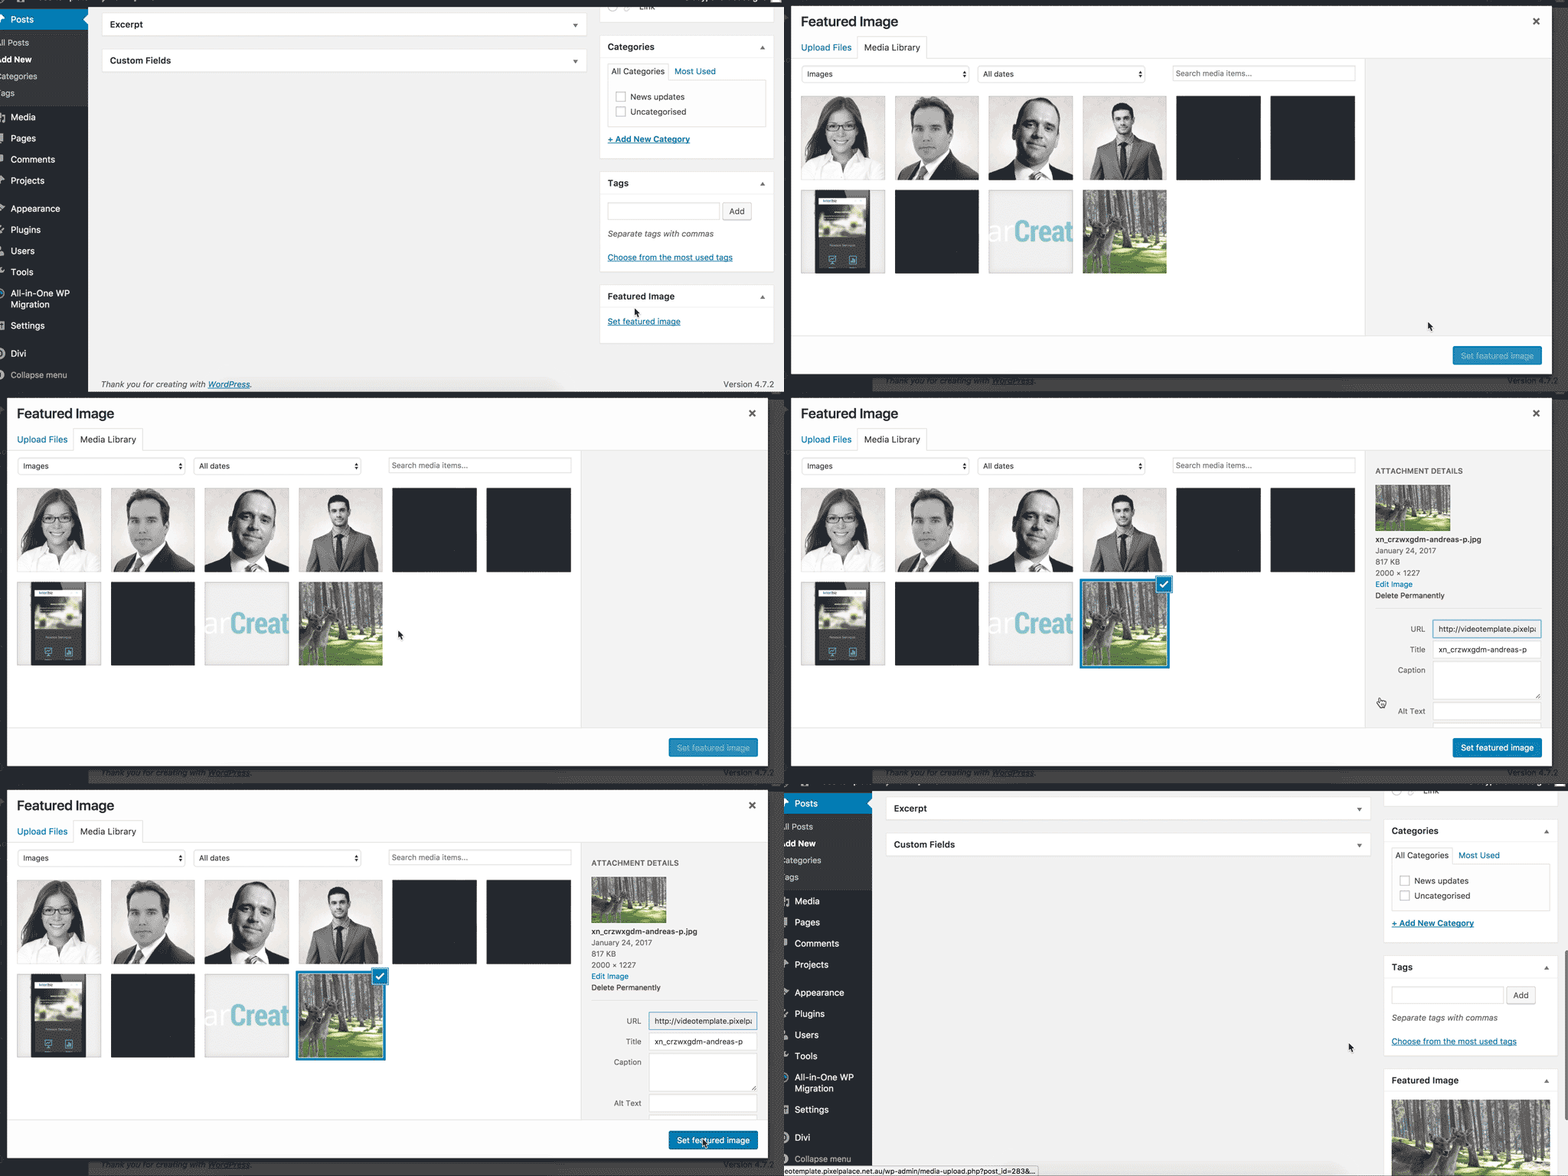
You can upload a new image, or use an existing image from your media library.
Step 6. Select tags and categories
Tags and Categories are located on the right side of a post.
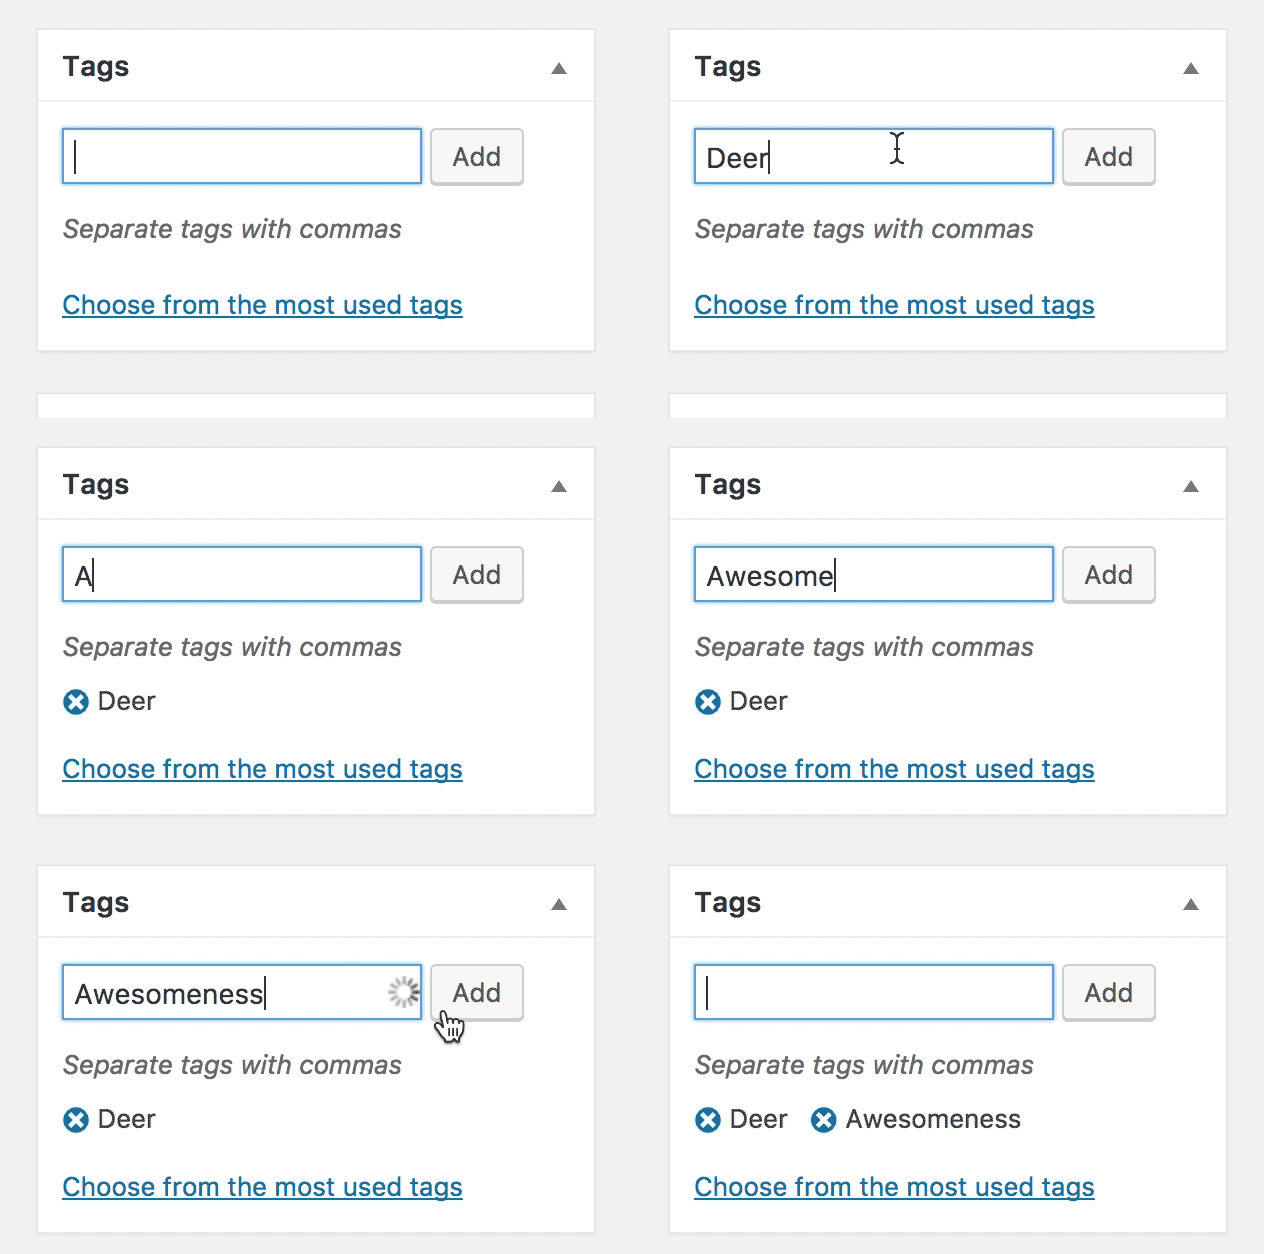
Categories are usually broader whereas Tags are generally a bit more specific. For example, if you were posting a cake recipe, your Category might be ‘Baking’ and your Tags might be ‘Cake’, ‘Birthday’ and ‘Icing’.
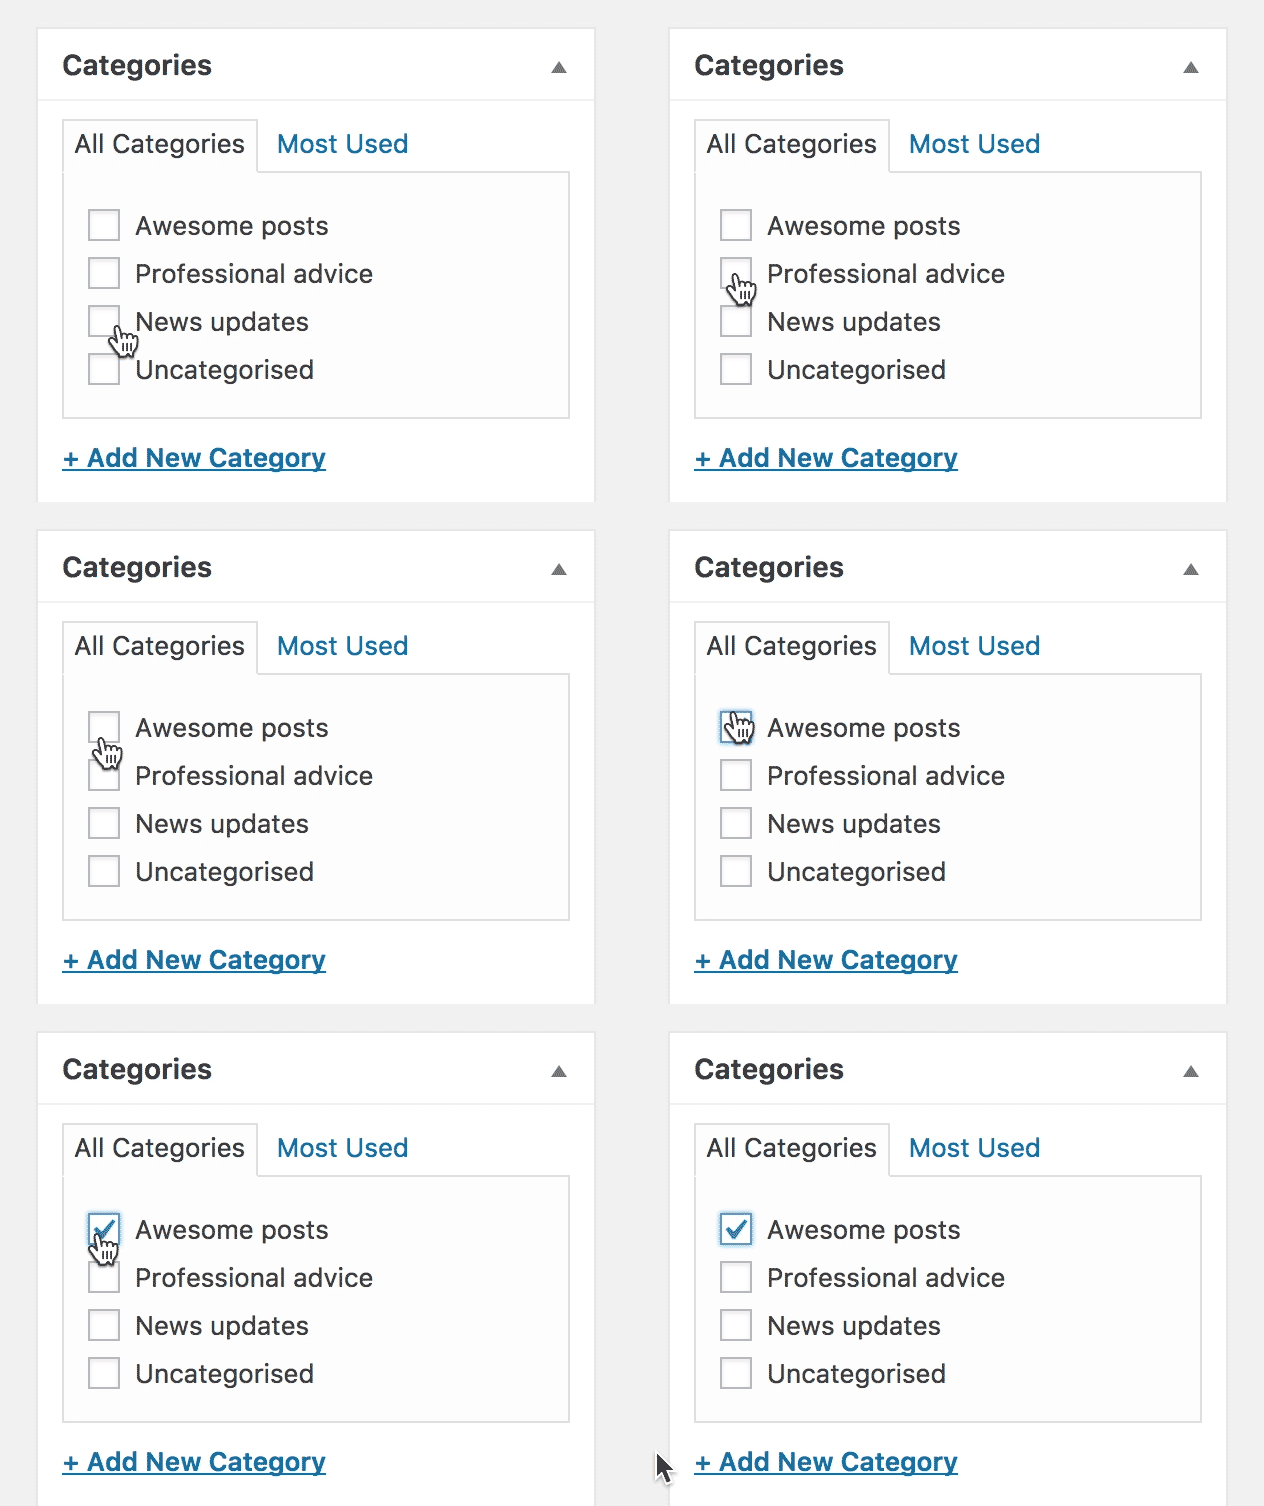
creating tags and categories, try to think of topics that people will want to read more about. You don’t want your tags/categories to be too general, but you also don’t want them to be so specific they only contain one post.
Step 7. Hit publish!
You can preview what your post will look like on your actual site by clicking the Preview button in the side bar. Once you’re happy and your post is finished, click on the blue publish button on the right-hand side and your post will be live!
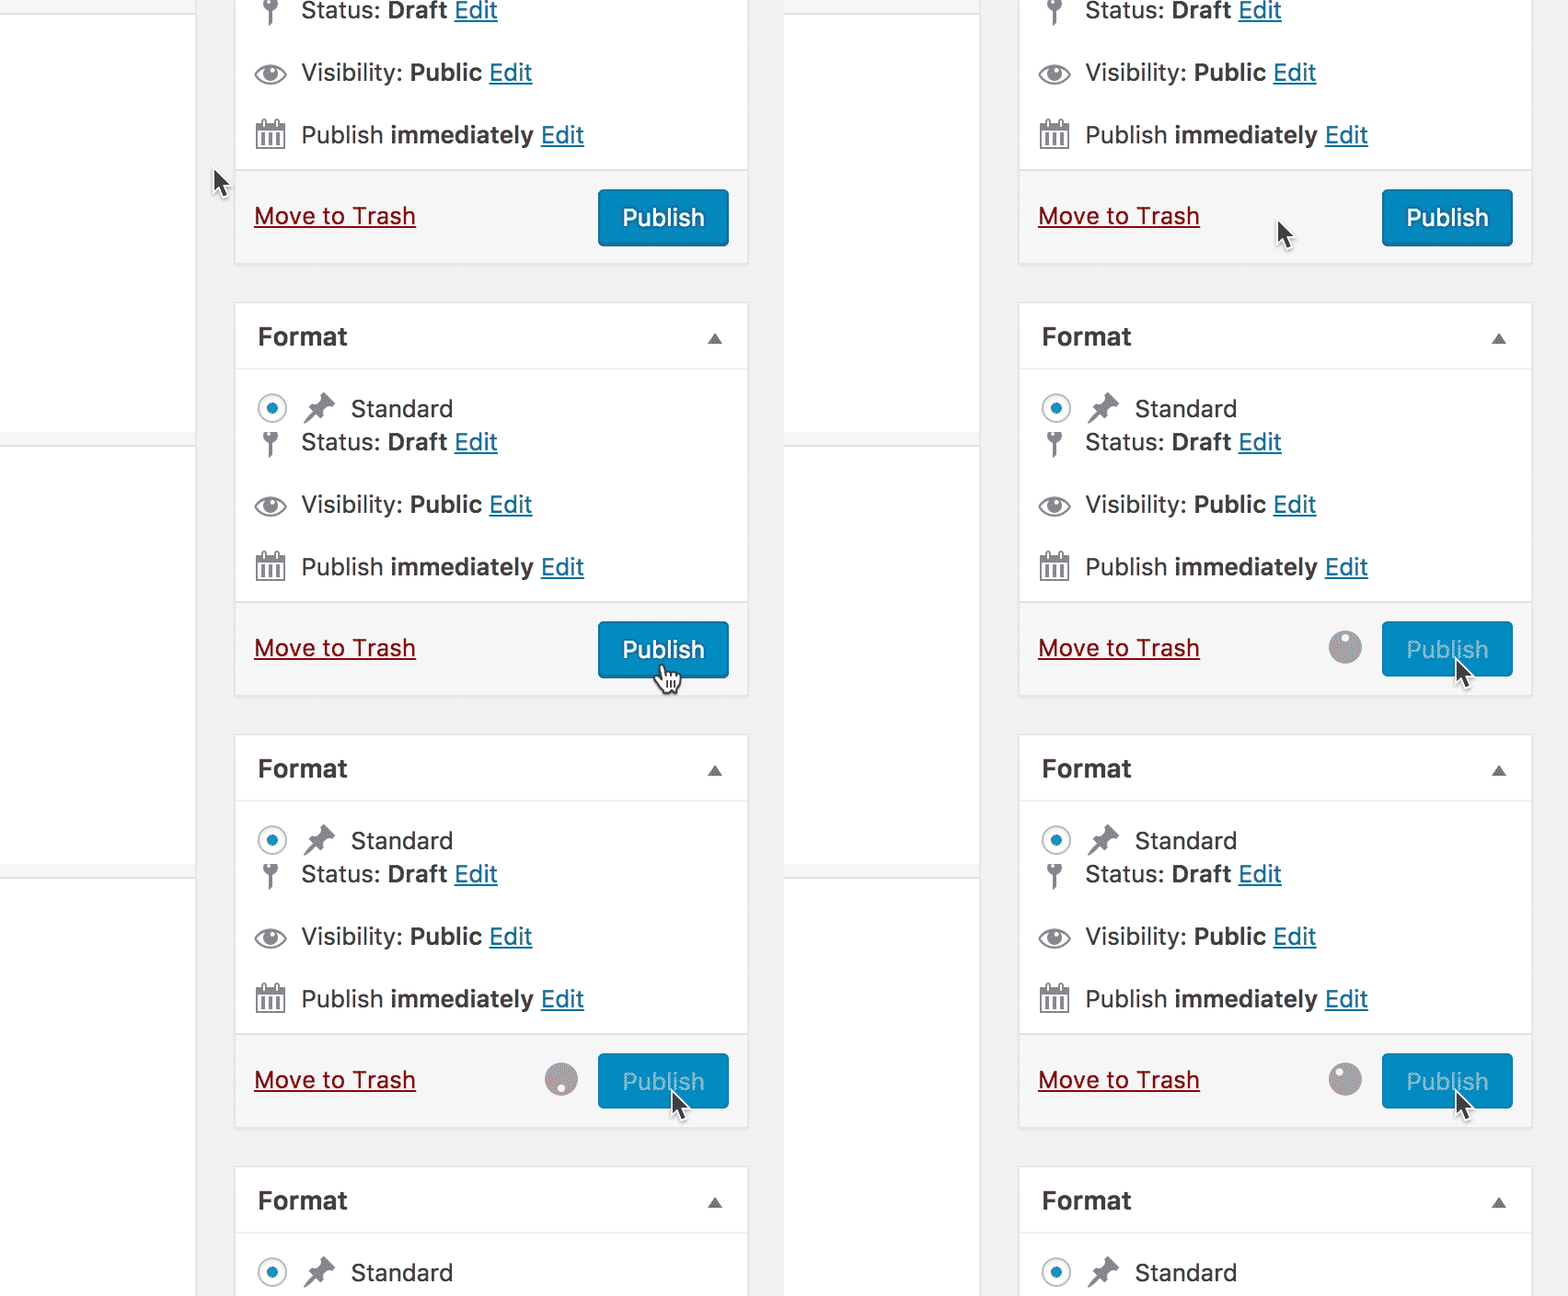
Or you can hit Save Draft come back to it later. Drafts are saved in WordPress but not visible to any of your site visitors. — So there you have it! Creating new blog posts in WordPress is easy once you’ve done it a few times. Happy blogging!
Need Extra Blog Posting Assistance?
Blogs are a beneficial addition to your website; however, as you can see above, it takes some time and practice posting those blogs. At developerslab our team is skilled in all versions of WordPress and is happy to post your blogs for you. Please contact us today by calling +92 (300) 833 5554 or fill out our online contact form.
